How to Screen Record in Windows 10 and 11- A Comprehensive Guide
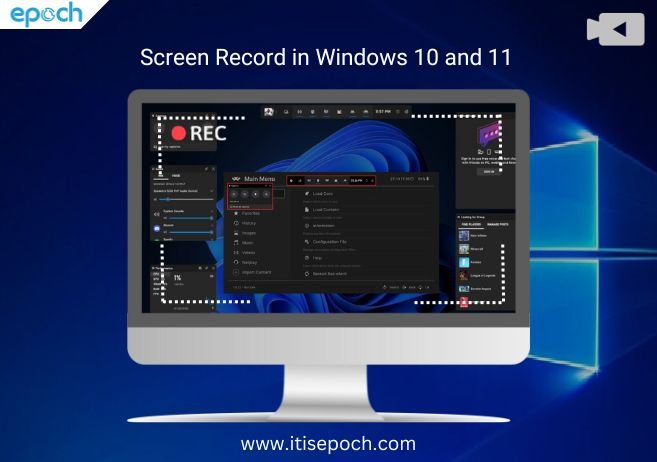
This new world of work presents many challenges in communicating ideas or thoughts with remote colleagues, sharing feedback, and organizing meetings. Screen recording in Windows can help a lot of businesses or individuals. Whether you want to show your gaming process or something related to your work, an On-screen recorder with audio in the windows can make it easy for the viewer to better understand the video. Screen recording is a valuable feature that allows users to capture their computer screens for various purposes including creating tutorials, recording gameplay, and troubleshooting. Both Windows 10 and Windows 11 offer built-in tools and third-party applications to facilitate screen recording. In this detailed guide, we will explore all the ways how to screen record on Windows 11 and Windows 10 by providing step-by-step instructions and tips for each method.
Give your 2 minutes for this blog and we assure you that by the end of this article, you’ll have a solid understanding of the available options and be able to choose the most suitable method for your screen recording on Windows 11 & Windows 10.
Screen Recording in Windows 10 and 11 By Using Game Bar
The Game Bar is a built-in tool in Windows 10 and Windows 11 that is commonly designed for game enthusiasts. However, it could be similarly useful for screen recording with audio. Follow these steps to make use of the Game Bar:
- Activate the Game BarPress the Windows “key + G” to open the Game Bar. If you are using it for the first time, you may need to allow it by going to Settings > Gaming > Xbox Game Bar and toggling the “Record game clips, screenshots, and broadcast using Game Bar” option.
- Start RecordingOnce the Game Bar is active, click on the “Record” button (a circle within a square icon) or use the Windows key + Alt + R shortcut to begin recording your screen. The Game Bar will capture each video and audio.
- Adjust SettingTo regulate recording settings, click on the tools icon inside the Game Bar overlay. Here, you can select the audio source, video quality, and different choices.
Utilizing OBS Studio
OBS Studio is a free and powerful screen recording and streaming software that offers advanced customization options. Here’s how you could use OBS Studio to record your screen with audio in Windows 10 and Windows 11.
- Download & Install OBS StudioVisit the OBS Studio internet site (obsproject.Com) and download the contemporary model of the software. Follow the setup instructions to set it up for your device.
- Configure Recording SettingLaunch OBS Studio and go to “Settings”. Under the “Output” tab, select the preferred recording format (e.g., MP4) and adjust quality settings according to your preferences.
- Set Audio SourceIn the “Audio” tab, pick the audio assets you need to include for your recording. You can capture system audio, microphone input, or both.
- Start RecordingReturn to the primary OBS Studio window and click on “Start Recording.” OBS Studio will start taking pictures of your screen with the chosen audio sources.
Using the Built-in Screen Recorder in Windows 10 and 11 in PowerPoint
Microsoft PowerPoint consists of a built-in screen recording feature that allows you to capture your screen with audio without delay in the software. Follow these steps to utilize this feature:
- Open PowerPointTo start the recording, firstly you need to Launch Microsoft PowerPoint on your Windows 10 or Windows 11 computer.
- Start RecordingIn PowerPoint, navigate to the slide where you need to embed the screen recording. Click on the “Insert” tab in the top menu, then pick out “Screen Recording” from the “Media” group.
- Configure Recording SettingsA small toolbar will appear. You can choose to record the entire screen or a specific area by dragging the cursor to create a selection. To include audio, ensure the “Record Audio” option is enabled.
- Start RecordingOnce you have installed the preferred recording location and audio settings, click on the “Record” button inside the toolbar to start shooting your screen with audio.
- Stop RecordingTo stop the recording, click on the “Stop” button inside the toolbar or press the Windows key + Shift + Q shortcut.
Utilizing Third-Party Screen Recording Apps
In addition to the built-in options, there are numerous third-party screen recording applications to be had for Windows 10 and Windows 11. Here are two popular choices:
- CamtasiaCamtasia is a feature-rich screen recording and video editing software that offers extensive tools for capturing screens with audio. It provides an intuitive interface, editing features, and the ability to record system audio, microphone input, and webcam simultaneously.
- BandicamBandicam is a flexible screen recording software that gives superb video and audio capture. It enables you to report particular areas of the display, add annotations, and report system audio along with microphone input.
In conclusion, Screen recording in Windows 10 and Windows 11 is a valuable function that may be utilized for various purposes. By following the techniques described in this blog, consisting of the usage of the Game Bar, OBS Studio, the integrated display recorder in PowerPoint, and third-party applications like Camtasia and Bandicam with audio, you could efficaciously capture your display screen and create engaging content material. Whether you pick the simplicity of the built-in tools or choose more superior skills, these methods provide you various options to screen record in Windows 10 and Windows 11. Choose the method that exceptionally suits your requirements and start creating high-quality screen recordings for tutorials, displays, gaming, or some other purpose you have.