How to Run Ethernet Cable Through a House Like a Pro
Running Ethernet cable through your home requires planning, the right tools, and a basic understanding of technical knowledge. Strong IT solutions begin with reliable wired connections that consistently outperform wireless speeds. This guide walks you through each step of the installation process, from picking the right cable to testing your final setup. You’ll learn how to route cables efficiently and avoid common mistakes. By the end, you’ll have a professional-grade network running through your house.
Cable Selection
Select the appropriate Ethernet cable category based on your speed requirements and budget. Cat5e cables support speeds of up to 1 Gbps, which is sufficient for most homes. Cat6 handles up to 10 Gbps, while Cat6a reaches 10 Gbps or higher over longer distances. For short runs in your home, Cat5e might be enough, but Cat6 or Cat6a future-proofs your network for faster speeds down the road. Always get cable that’s long enough for your specific run to prevent signal problems. Choosing the right cable from the start saves you time and money in the long run.
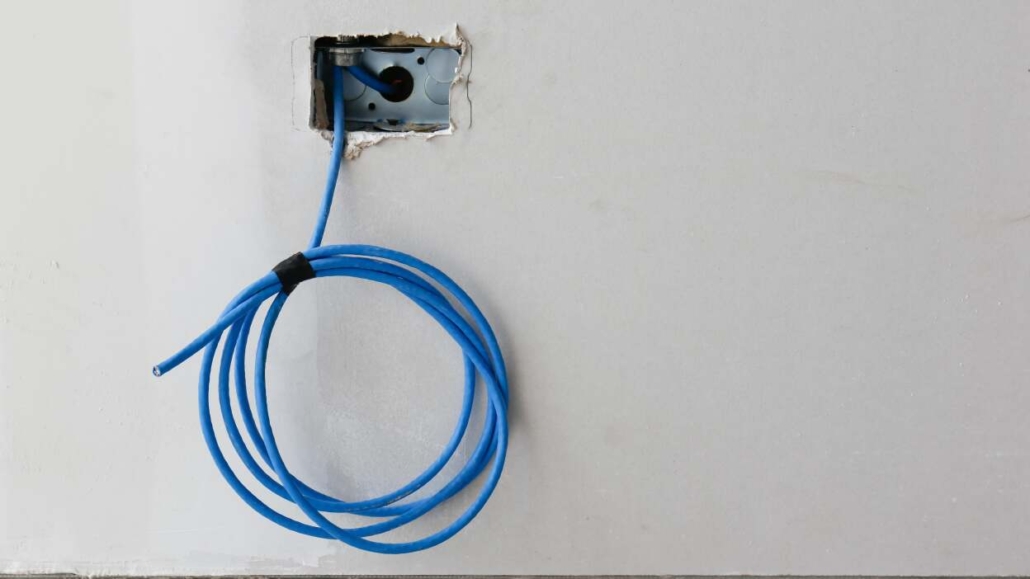
Planning the Route
Map out your cable path before you start drilling or pulling wires. Examine your house layout and identify potential obstacles, such as walls, floors, and other structural elements. Select the most direct route possible to minimize cable length and maintain strong signals. Avoid using electrical outlets and large appliances that can interfere with your signal. Drawing your route on floor plans helps you visualize the cable path and calculate the amount of cable needed. Effective planning makes installation easier and ensures your network runs smoothly.
Preparing the Tools
Ensure all your tools are ready before beginning the installation. You’ll need a cable tester, fish tape, cable lubricant, a stud finder, a drywall saw, a drill with bits, cable ties, a measuring tape, a cable stripper, and a crimping tool. The cable tester verifies that connections are working properly. Fish tape pulls cables through walls or ceilings easily. Cable lubricant helps cables slide through tight spaces. Use the stud finder and drywall saw to locate obstacles and make openings. The drill creates access points, while cable ties keep everything organized and tidy. The measuring tape helps cut cables to the correct length, and the stripper and crimping tool secure connections.
Making Connections
Properly terminating cable ends with connectors creates reliable Ethernet connections. Use RJ45 connectors designed for your cable type, solid or stranded. Strip the cable jacket carefully without damaging the wires inside. Arrange the wires following the TIA/EIA-568-B wiring standard (T-568B is most common) before inserting them into the connector. Use a crimping tool to secure the wires and create a solid connection. Test all cables with a cable tester after terminating them to verify they work correctly.
Troubleshooting Tips
Check cable connections and equipment settings when issues arise. Make sure cables are plugged in securely at both the device and the wall outlet or router. If connections feel loose, try a different port or swap the cable. Check your device’s Ethernet adapter settings to ensure they match your network setup. Check for IP address conflicts or wrong network configurations. Reboot your device or reset the router to fix many connectivity issues. Utilize diagnostic tools, such as ping tests or network analyzers, to identify issues within your network. These steps solve most Ethernet cable issues quickly.
Final Testing and Optimization
Test everything thoroughly before calling the job done. Use cable testers to verify proper connectivity and data transfer speeds. Ensure all connections are secure and there’s no signal interference or packet loss. Fine-tune your network by adjusting cable lengths, rerouting paths to avoid interference sources, and verifying that all components operate efficiently. Adjust network settings on your devices to get maximum speed and stability. After testing and tweaking everything, you’ll have a reliable and efficient Ethernet cable network running throughout your home.
Related Topics: